The Amsler charts are displayed by selecting the Amsler icon on the Primary Toolbar or selecting F5 on the keyboard or Fan on the remote control handset.
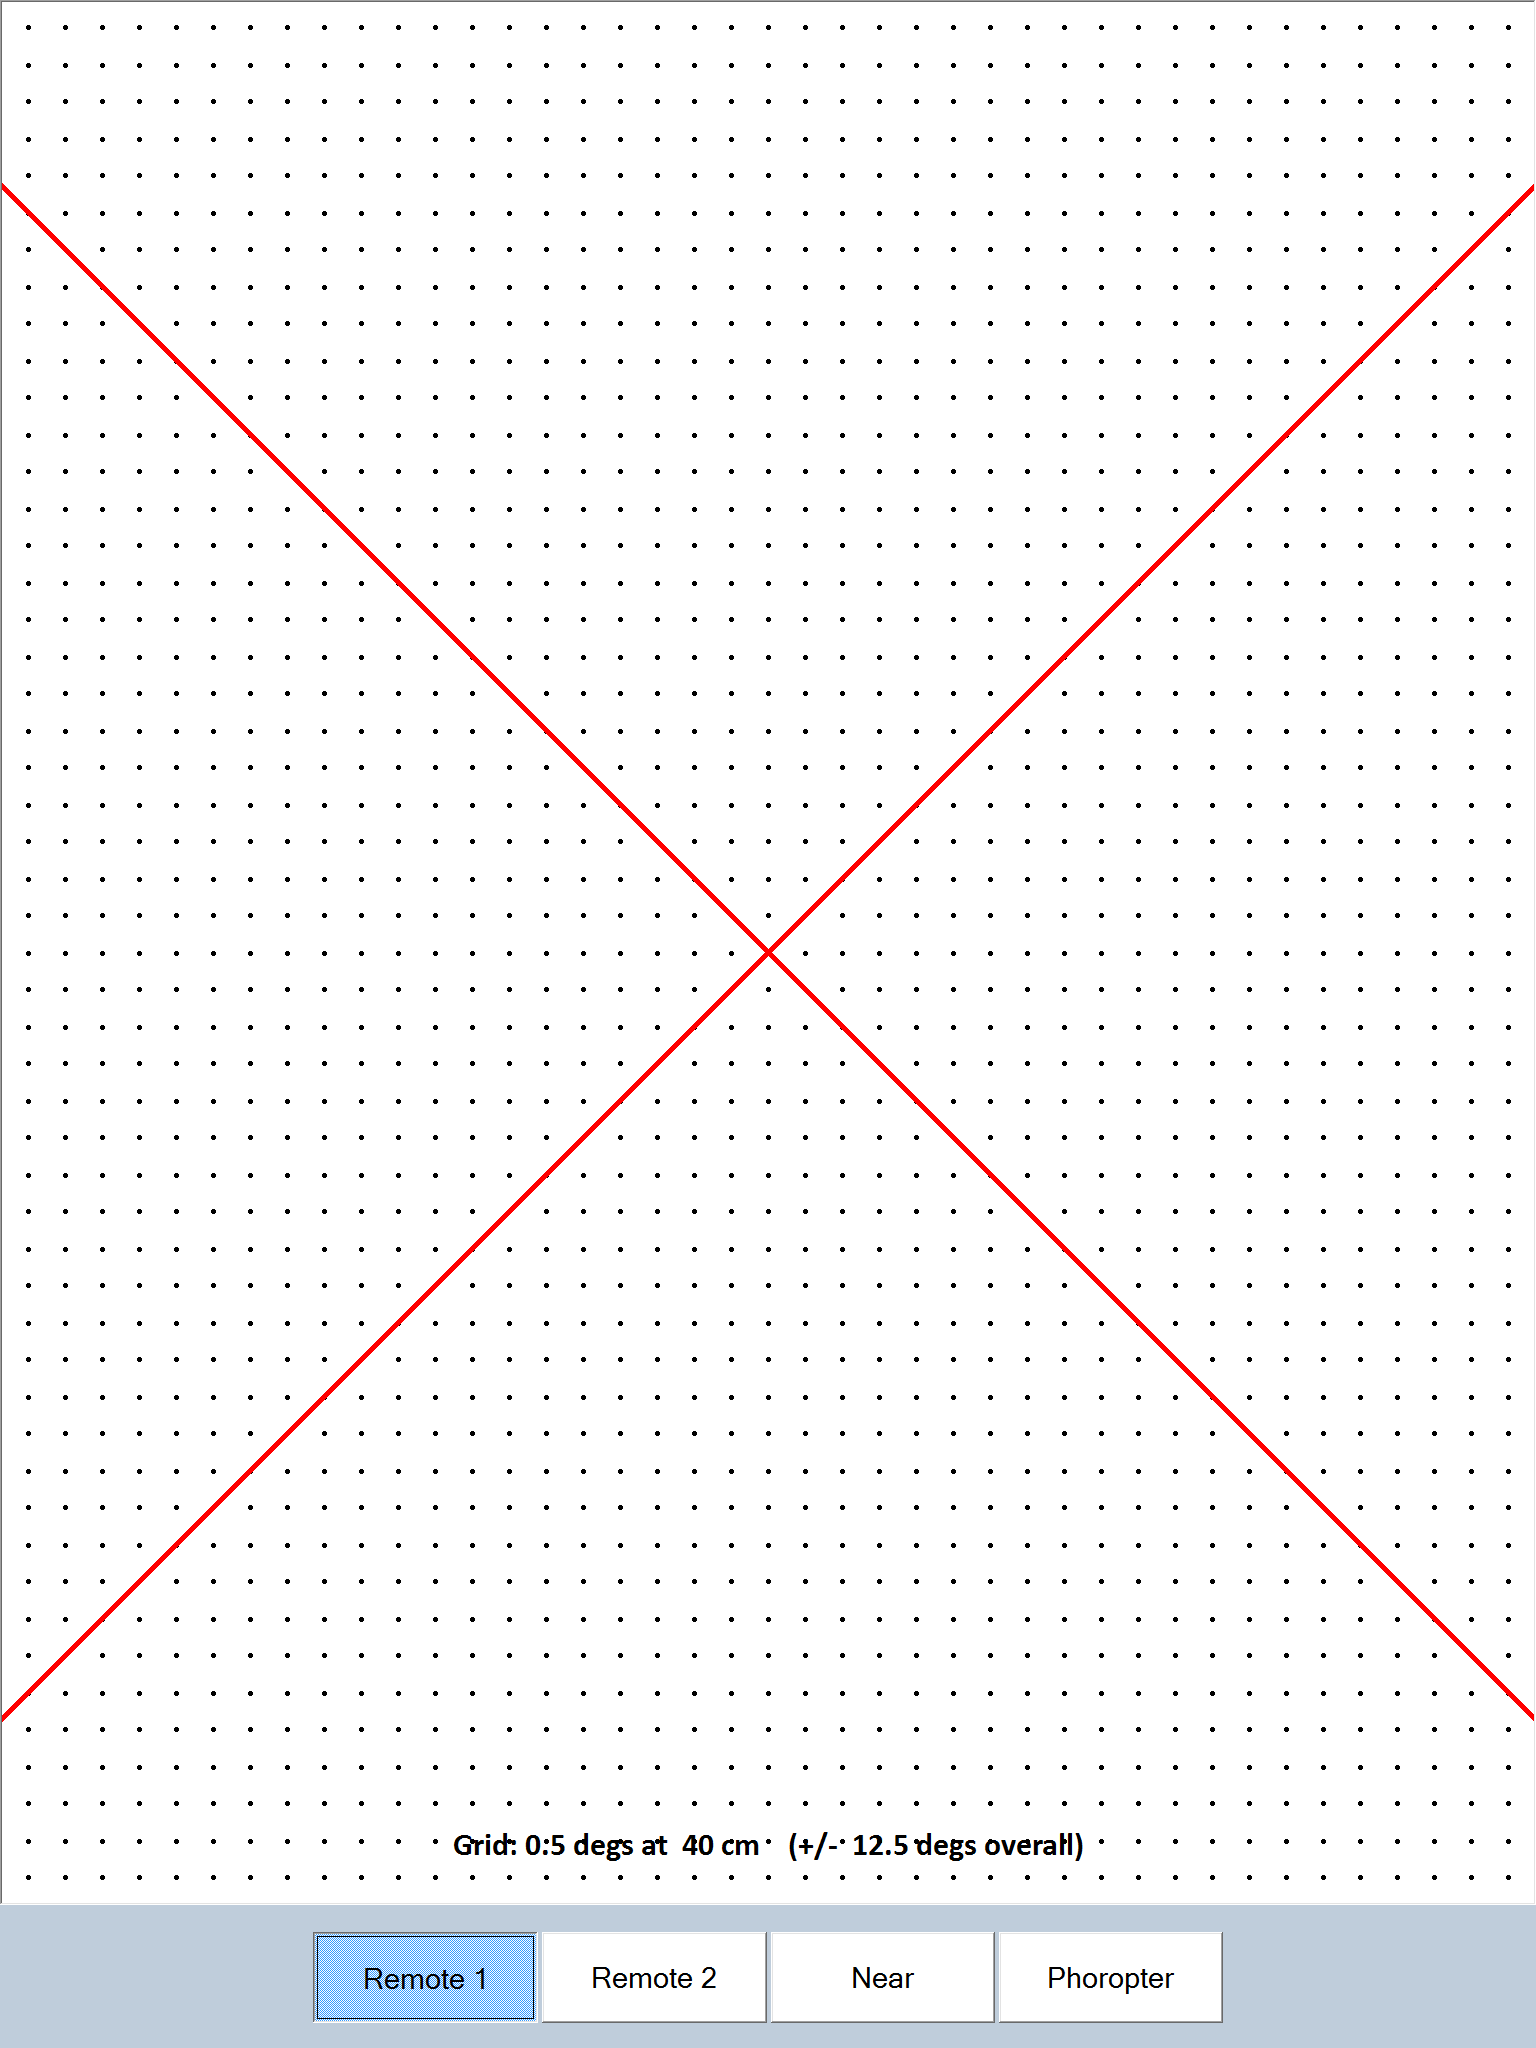
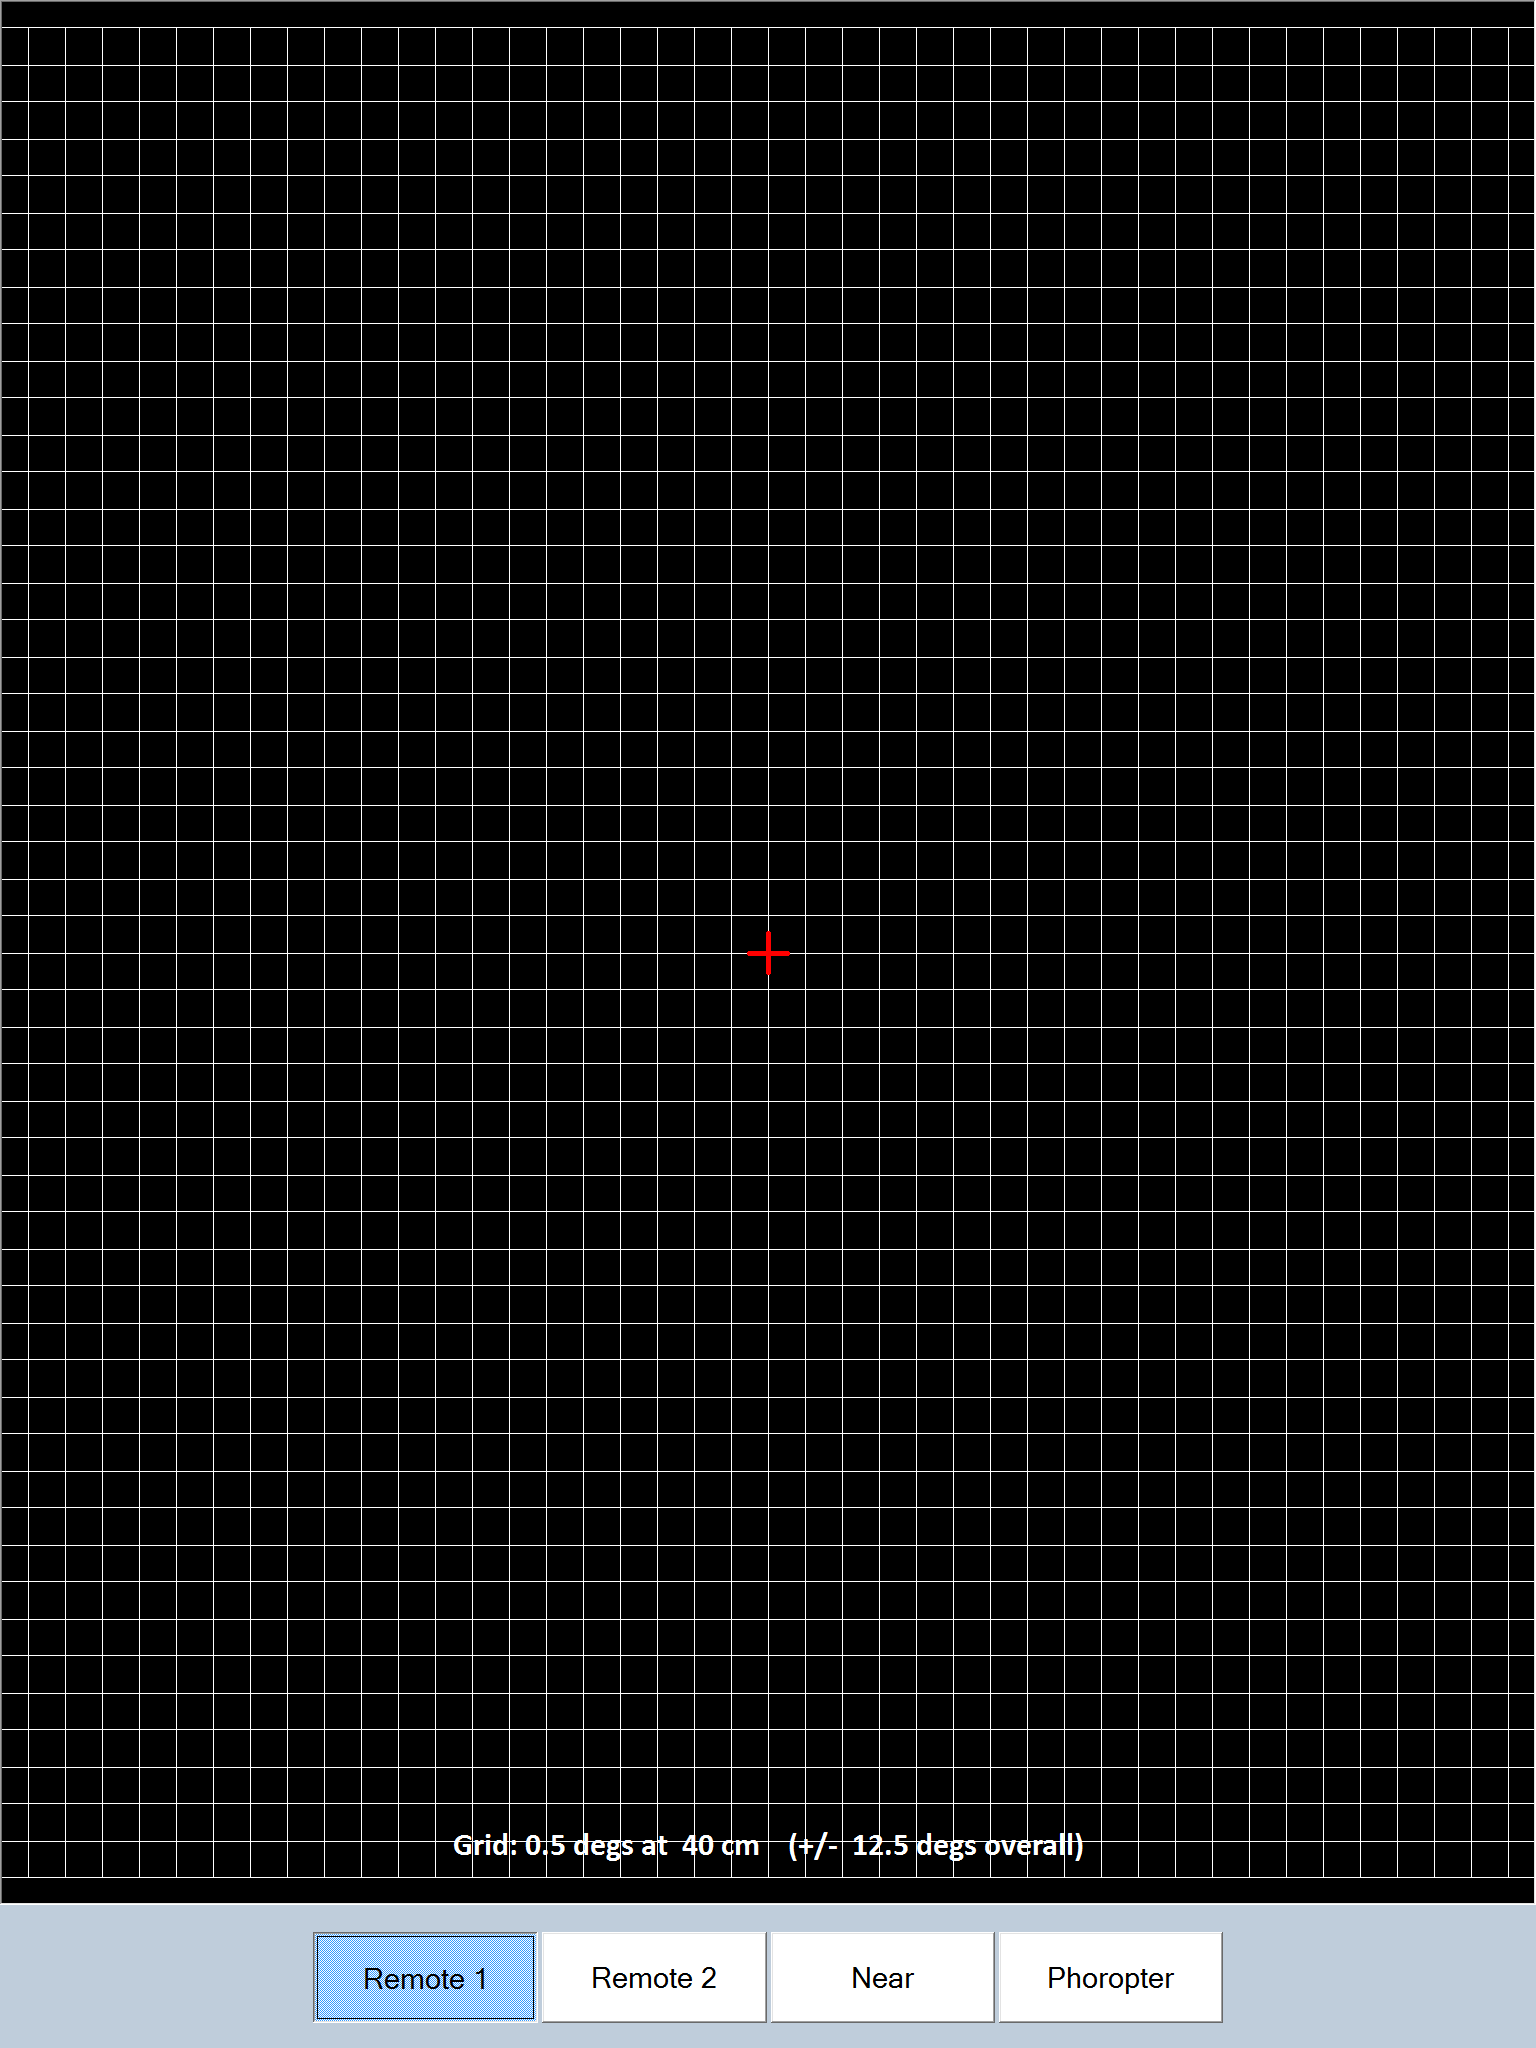
The Amsler chart is designed to detect disturbances within the central visual fields associated with macula disease. The patient is simply instructed to look at the red cross in the centre of the grid and report if all the lines in the grid look straight and if any areas in the grid are feint or missing.

Test Chart 2016 allows these areas to be indicated by “drawing” directly on the grid using a finger on the tablet. This image may then be placed in the Windows clipboard by selecting Edit … Copy from the menu at the top of the screen. The annotated grid can then be pasted into a word document, patient management software etc.
The spacing of the Amsler grids is determined by the pixel size – each line must be separated by the same number of pixels. By default, the grid separation is set to 10 pixels and a viewing distance which produces an angle of 0.5 degrees between the lines is calculated and shown at the bottom of the screen. The patient should view the screen from this specified distance in order for the grid size to be as specified.
![]()
The spacing and overall size of the grid can be varied by selecting Opts on the Secondary toolbar. The Spacing is specified in pixels and the Size refers to the number of lines in the grid. Both may be changed using the corresponding Up / Down arrows.
Test Chart 2016 allows a wide variety of grids to be generated including Squares, Vertical lines (V lines), Horizontal lines (H lines) and Dots (Dots). These charts may be selected by clicking on the corresponding buttons on the Secondary Toolbar or pressing 1, 2, 3 or 4 on the keyboard or the remote.
The contrast of the grating may be reversed, i.e. white on black by selecting the Contr button on the Secondary Toolbar or by pressing R on the keyboard or remote.
The colour of the lines and the background may be changed by selecting the Col button on the Secondary Toolbar or by pressing R on the keyboard or remote.
The fixation target may be changed by selecting Cross, Spot or X on the Secondary Toolbar or by pressing 5, 6 or 7 on the keyboard or remote.