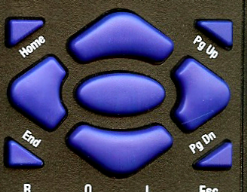
The Number plate tests are displayed by selecting the Plate icon on the Primary toolbar, pressing F9 on the keyboard of selecting Plate on the remote control handset.
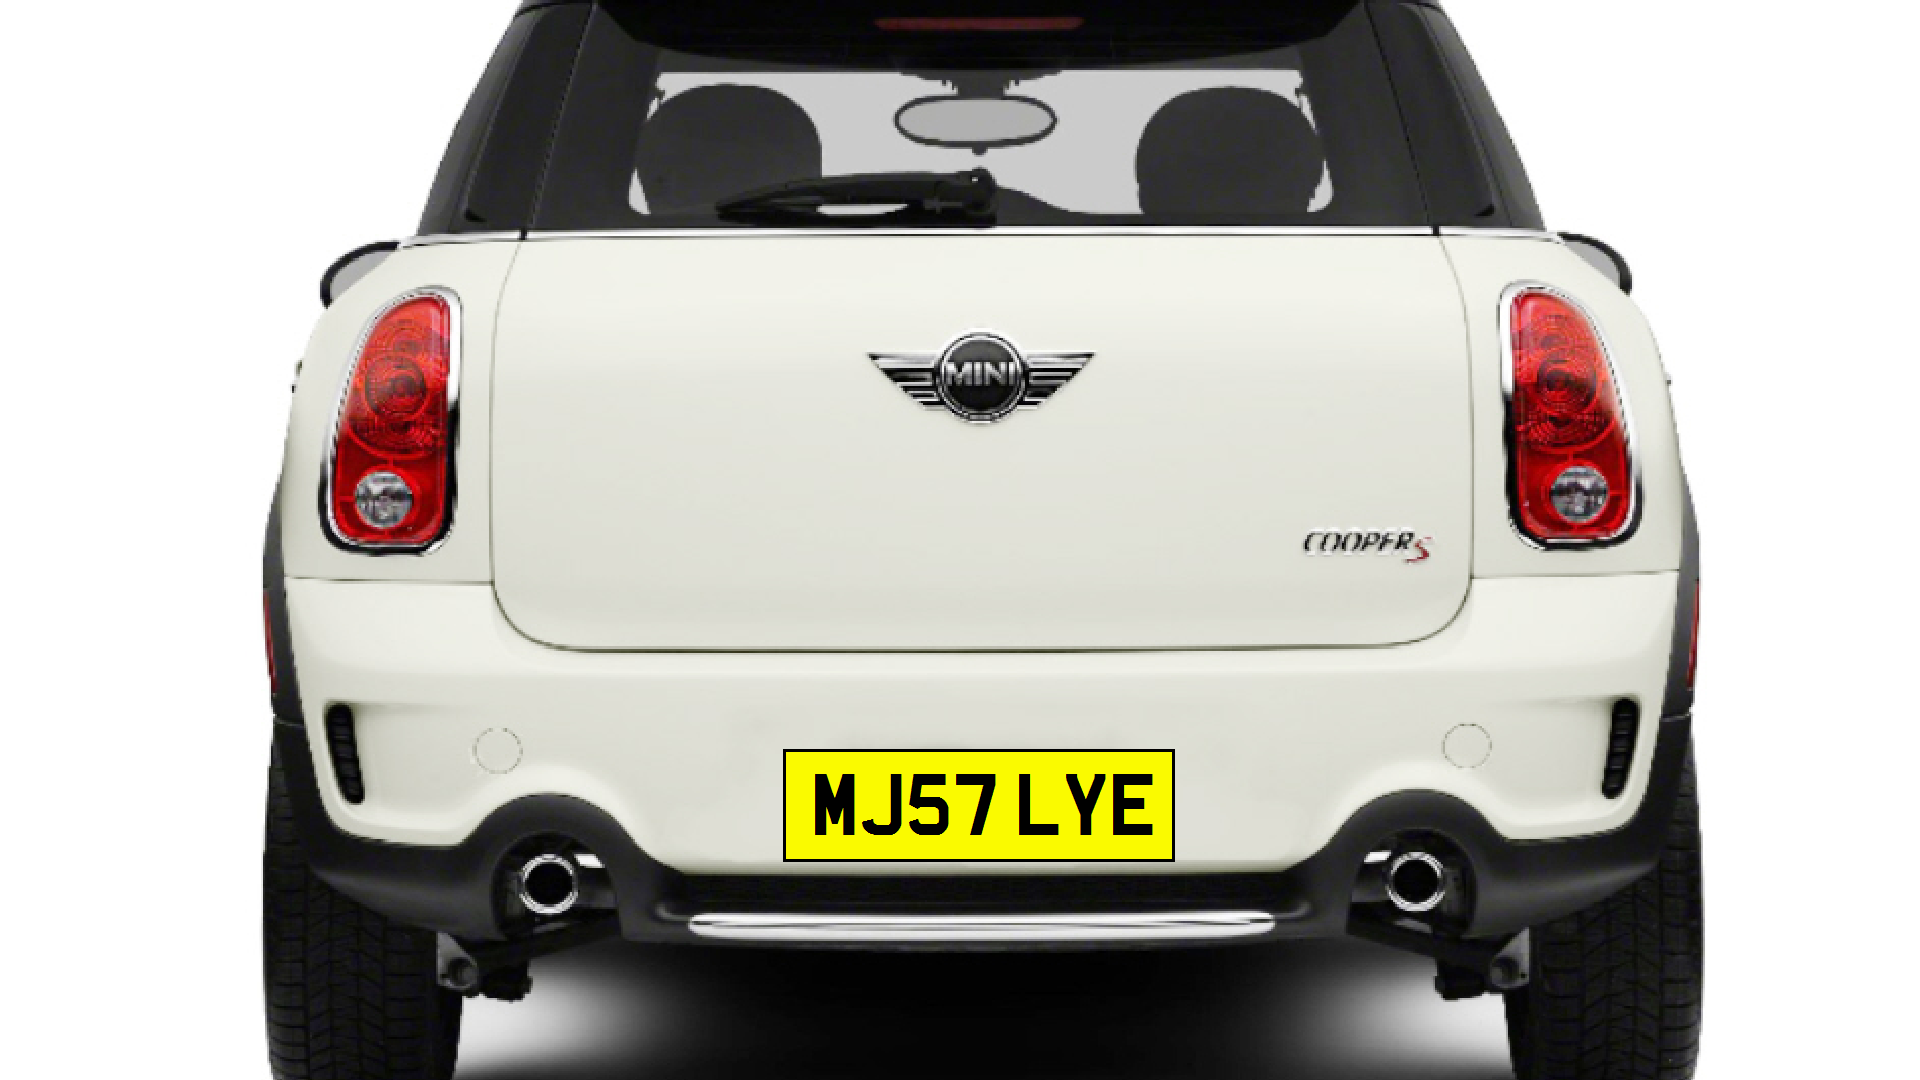
The number plate test is the statutory vision requirement for drivers in the UK.
The law states that: A licence holder or applicant must be able to read in good light (with the aid of glasses or contact lenses if worn) a registration mark fixed to a motor vehicle and containing letters and figures 79.4 millimetres high at a distance of 20.5 metres. If unable to meet this standard, the driver must not drive and the licence must be refused or revoked.
In the past clinicians have had to try and extrapolate this standard to an equivalent Snellen acuity. As the spacing of the letters and the fonts on a Snellen chart are very different to those on a number plate, this was fraught with difficulties.
Test Chart 2016 uses the exact fonts and spacing found on a UK registration plate and therefore allows the clinician to predict with confidence whether patients meet the legal requirement.
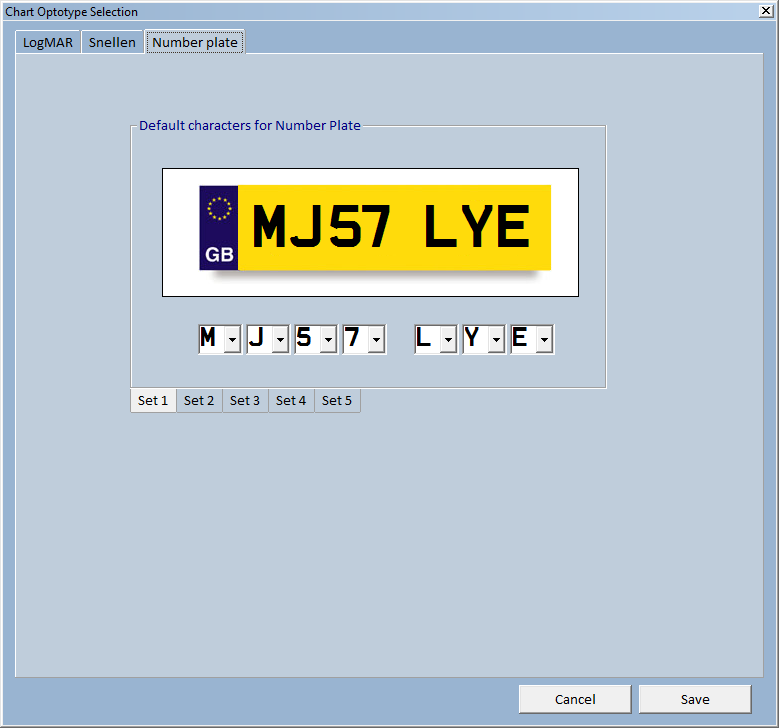
Number Plate Options
Five different predefined number plates may be defined from the Number Plates tab of the Chart Optotype Selection window (select Options... Chart Optotype Selection).

To rotate around the five predefined number plates, repeatedly select the O icon on the Secondary Toolbar or press O on the keyboard or remote.
To display a random numberplate select the R icon on the Secondary Toolbar or press R on the keyboard or remote.
To display a front number plate select the 1 icon on the Secondary Toolbar or press 1 on the keyboard or remote. To display a back number plate select the 2 icon on the Secondary Toolbar or press 2 on the keyboard or remote. Alternatively press a horizontal cursor control key on the keyboard or remote.
Test Chart 2016 also provides the facility for viewing the number plate under more "challenging" environmental conditions, i.e. mist and reduced luminance.
To implement "mist" select the M icon on the Secondary Toolbar or press M on the keyboard or remote. The contrast can then be varied using the vertical cursor control keys.
To implement "night time conditions" select the L icon on the Secondary Toolbar or press L on the keyboard or remote. The luminance can then be varied using the vertical cursor control keys.
Summary
|
Mouse To rotate around the five predefined number plates, repeatedly select the O icon on the Secondary Toolbar. To display a random numberplate select the R icon on the Secondary Toolbar. To implement "mist" select the M icon on the Secondary Toolbar. The contrast can then be varied using the vertical scrollbar on the Floating Control Window. To implement "night time conditions" select the L icon on the Secondary Toolbar. can then be varied using the vertical scrollbar on the Floating Control Window. |
Keyboard To rotate around the five predefined number plates, repeatedly press O on the keyboard. To display a random numberplate press R on the keyboard. To implement "mist" select M on the keyboard. The contrast can then be varied using the vertical cursor control keys. To implement "night time conditions" press L on the keyboard. The luminance can then be varied using the vertical cursor control keys. |
|
|
Remote To rotate around the five predefined number plates, repeatedly press O on the remote. To display a random numberplate press R on the remote. To implement "mist" select M on the remote. The contrast can then be varied using the vertical cursor control keys. To implement "night time conditions" press L on the remote. The luminance can then be varied using the vertical cursor control keys. |