The Fixation Disparity tests are displayed by selecting the Disp icon on the Primary toolbar, pressing F7 on the keyboard of selecting Fix Disp on the remote control handset.
NOTE: The tests available will depend on whether a polarised monitor is being used.
Non-polarised monitor
If a non-polarised monitor is being used, the patient wears a RED filter in front of the RIGHT eye and a GREEN filter in front of the LEFT eye for all tests in this group. The software is supplied with a pair of red/green visors but users may prefer to use the red and green filters in their trial set or phoropter.
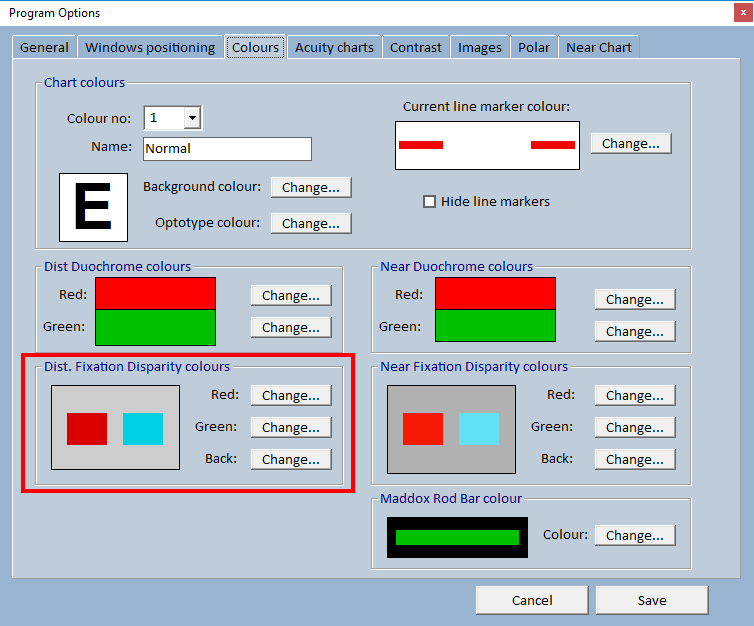
It is very important that the screen colours are well matched to the coloured filters. The aim is for the “green” (actually blue green) to blend in with the grey background when viewed through the green filter and to look “dark” when viewed through the red filter. Likewise, the red should blend in with the grey background when viewed through the red filter and look “dark” when viewed through the green filter.
The exact settings for the Red, Green and Back(ground) can be adjusted via the Colours tab of the Options...General Settings screen to take account of differences in the colour reproduction of different monitors and the spectral absorption of the filters used.
The Fixation Disparity Tests group includes the following four tests:
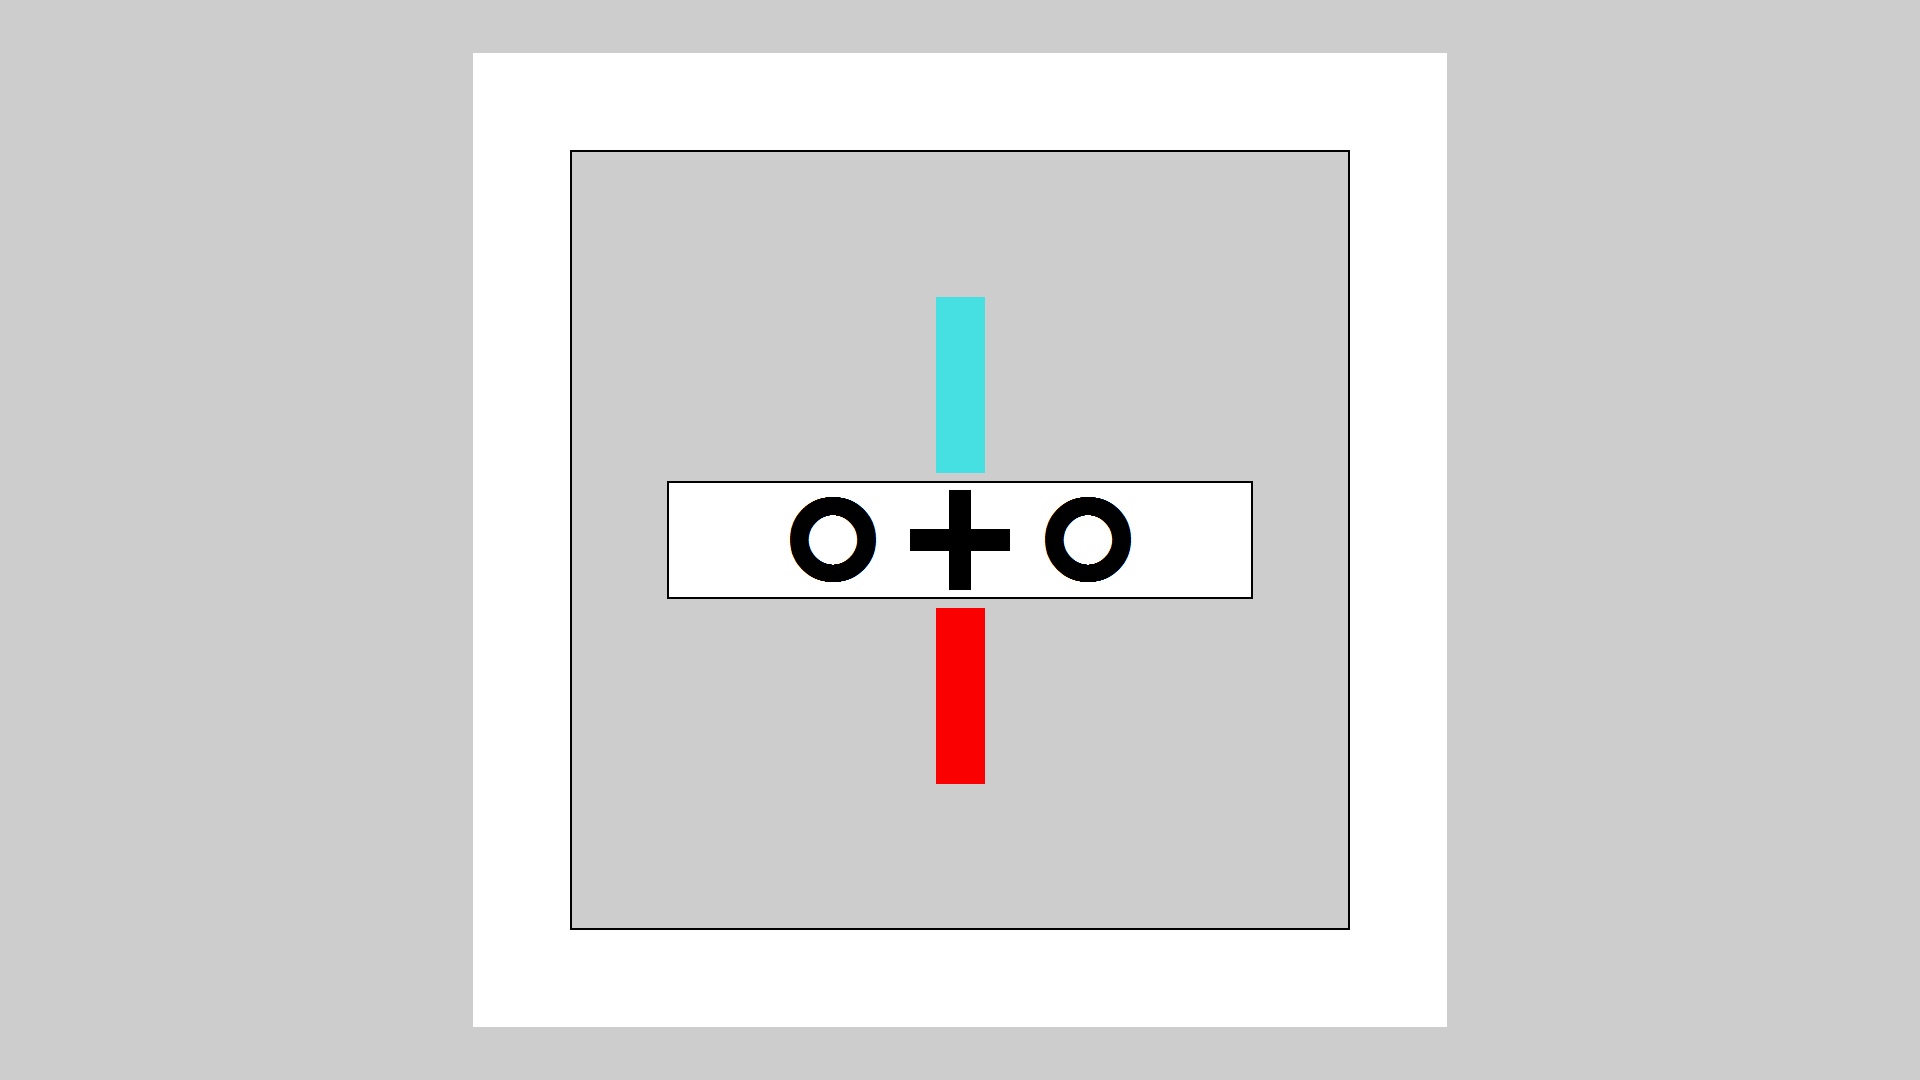
Horizontal fixation disparity
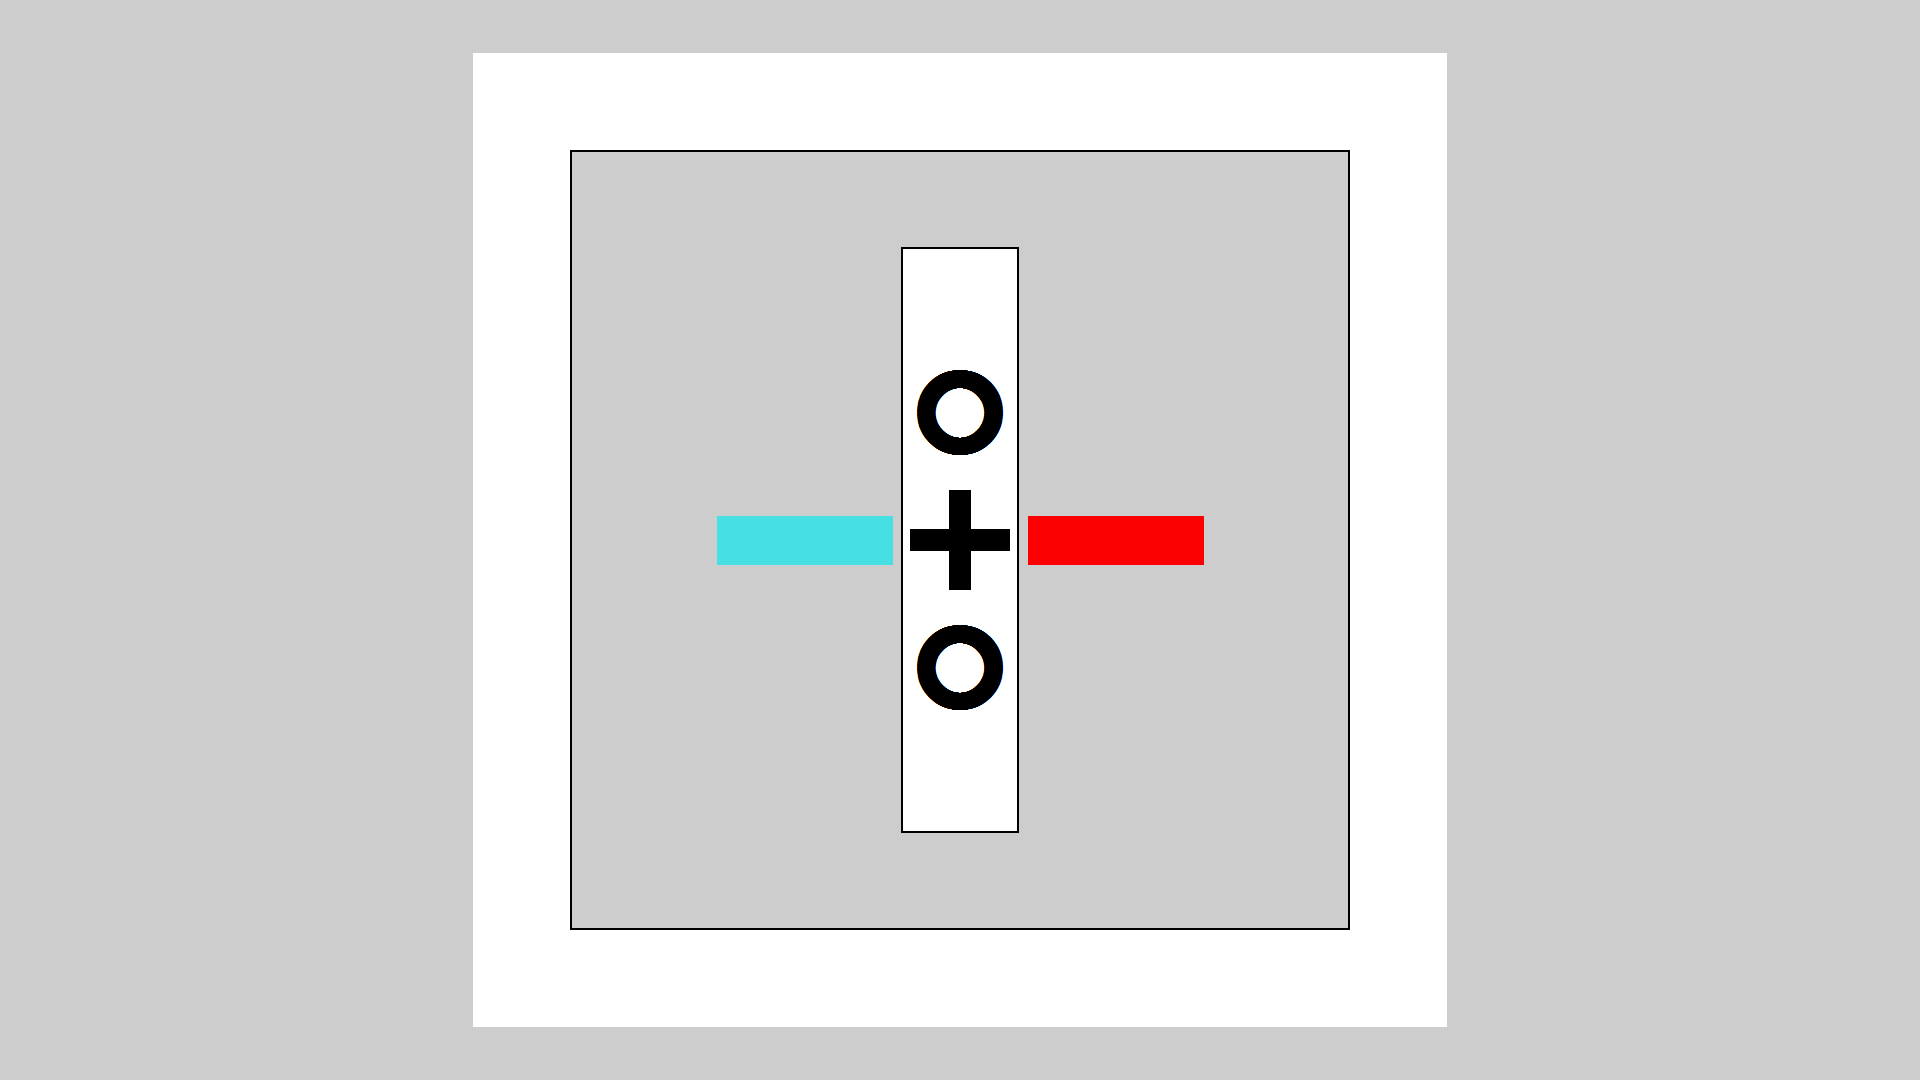
Vertical fixation disparity
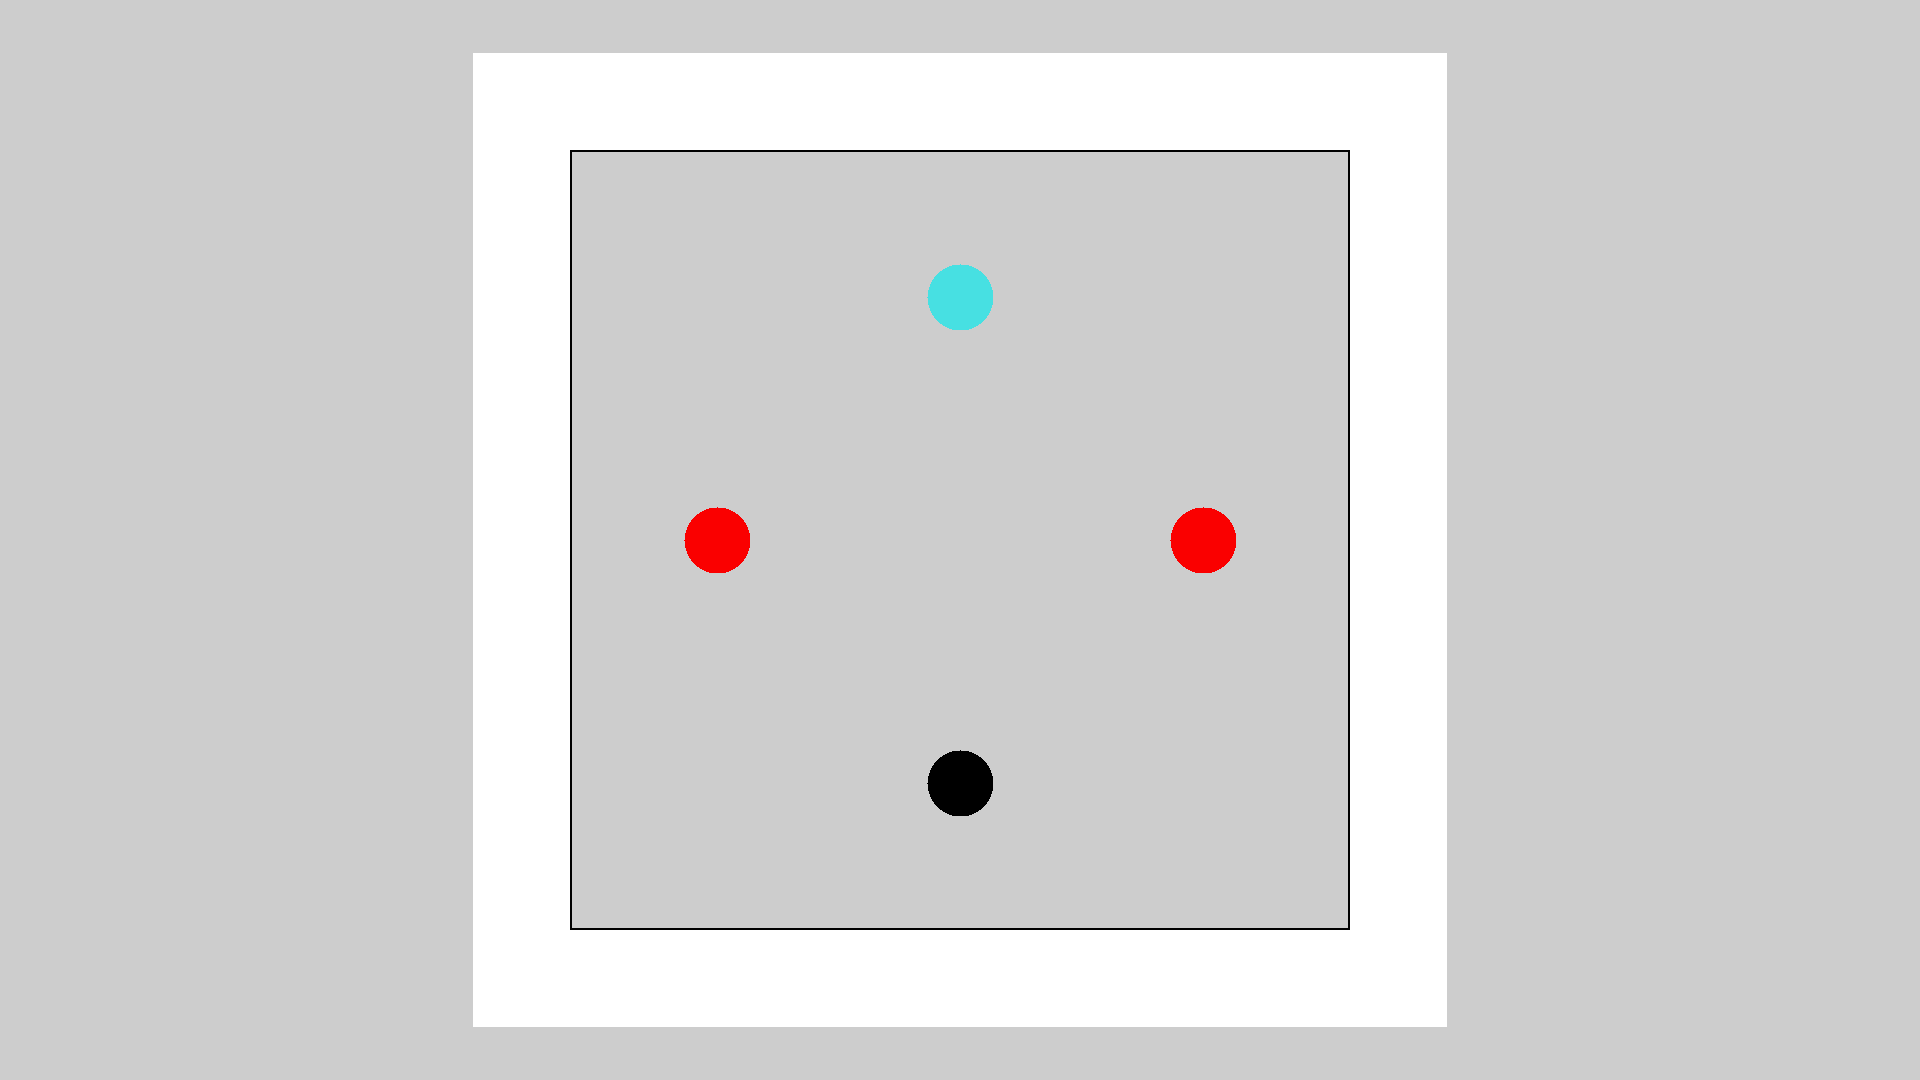
Worth 4 dot test
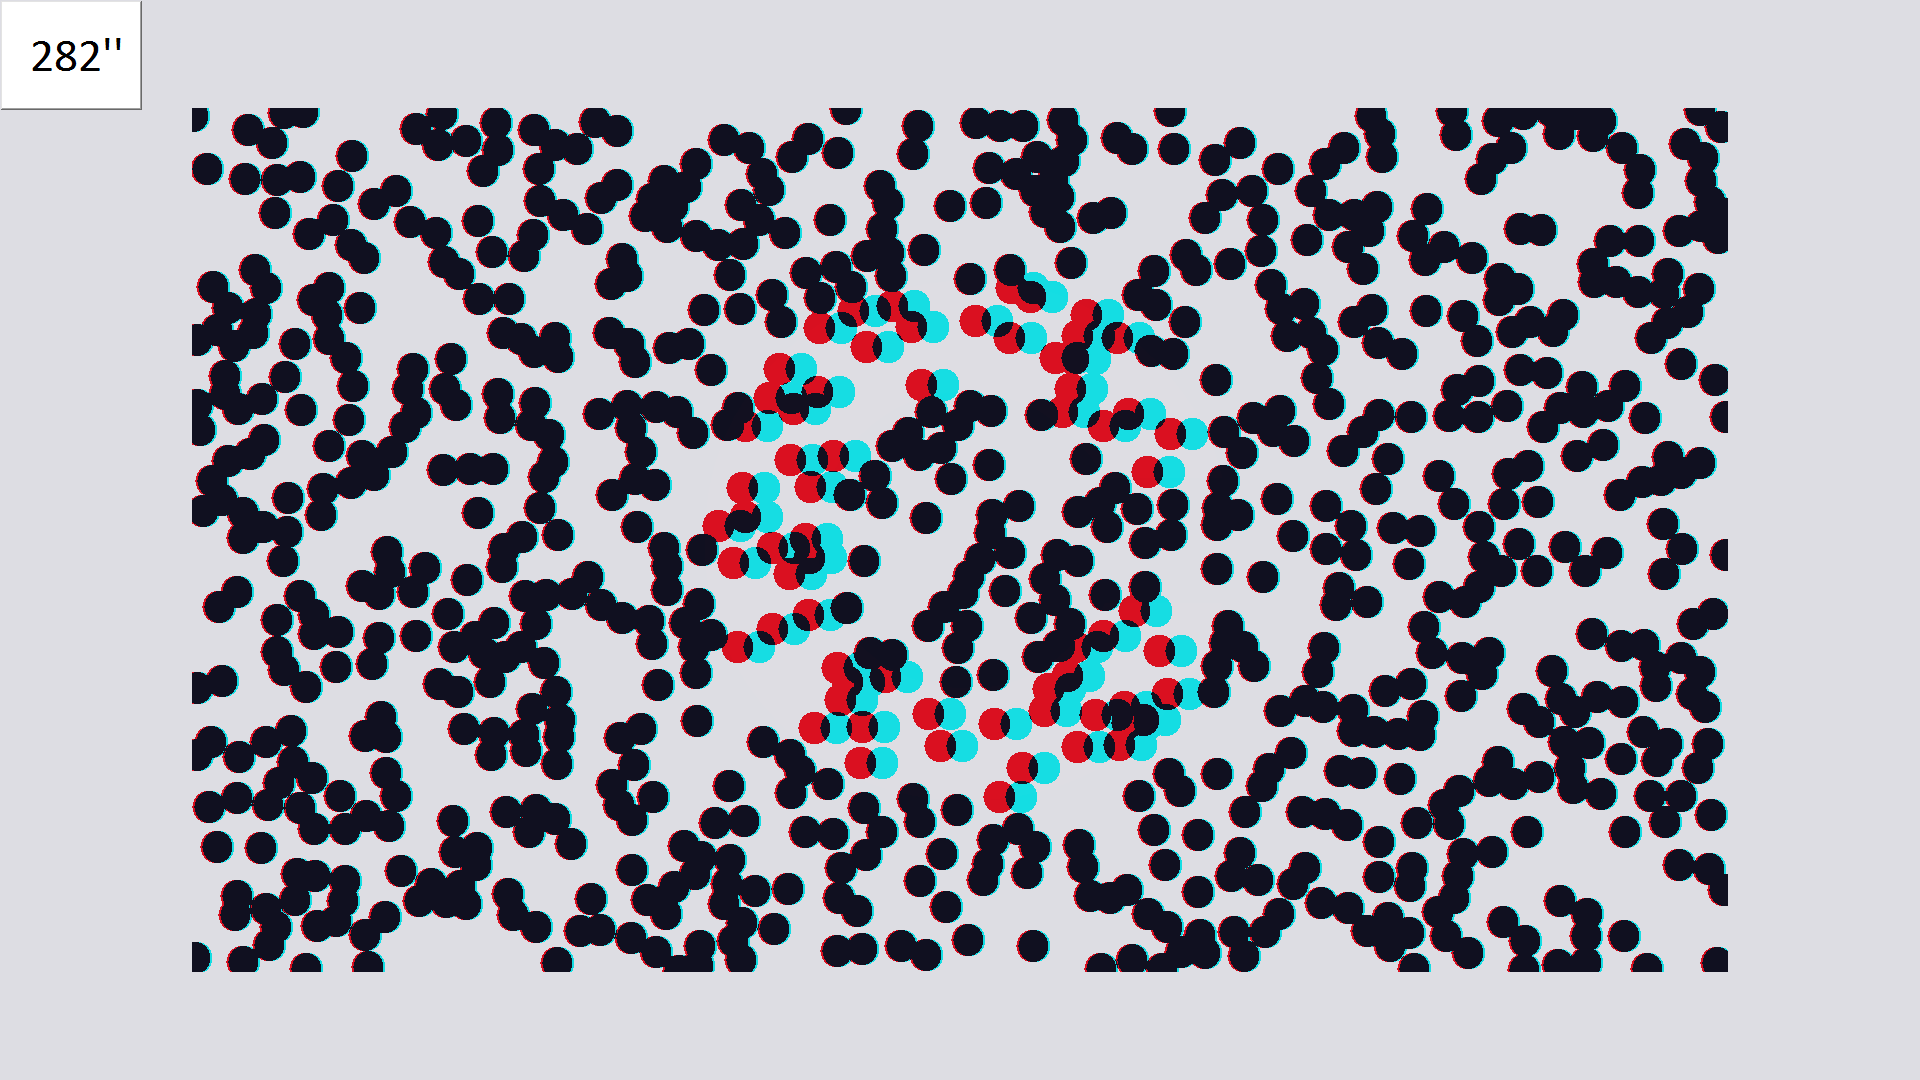
Random dot stereograms
Selecting a mode
The mode is selected by clicking on the corresponding icon in the Secondary Toolbar.
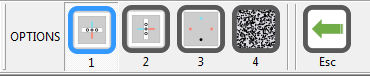
Or by pressing 1, 2, 3 or 4 on the keyboard or remote.
Pressing the horizontal cursor control keys rotates around the four modes.
Options
The various options available in each mode are described here:
Summary
|
Mouse Select the corresponding button in the Secondary toolbar for the four different tests |
Keyboard 1 selects horizontal fixation disparity 2 selects vertical fixation disparity 3 selects the Worth 4 dot test 4 selects the random dot stereogram test The horizontal cursor control keys rotate around the four tests |
|
|
Remote 1 selects horizontal fixation disparity 2 selects vertical fixation disparity 3 selects the Worth 4 dot test 4 selects the random dot stereogram test The horizontal cursor control keys rotate around the four tests |