The Contrast Sensitivity test is displayed by selecting the CS icon on the Primary toolbar, pressing F11 on the keyboard of selecting Contr S on the remote control handset.
Measurements of contrast sensitivity have been shown to provide valuable information about patients’ visual status.
It has been shown that measurements of high contrast visual acuity do not always adequately reflect patients’ quality of vision in the “real world”. This is particularly true for patients with cataracts and various neurological conditions as well as contact lens wearers and patients who have undergone refractive surgery.
The traditional method of measuring a contrast sensitivity function using sine wave gratings is time consuming and difficult to implement on a standard PC. However, it has been shown that measurement of the contrast threshold for large letters generally provides sufficient information in the clinical setting.
The patient usually views the screen directly from 1 metre. The viewing distance may be set independently to the viewing distance used for the other tests via the Contrast tab of the Options...General Setting screen.
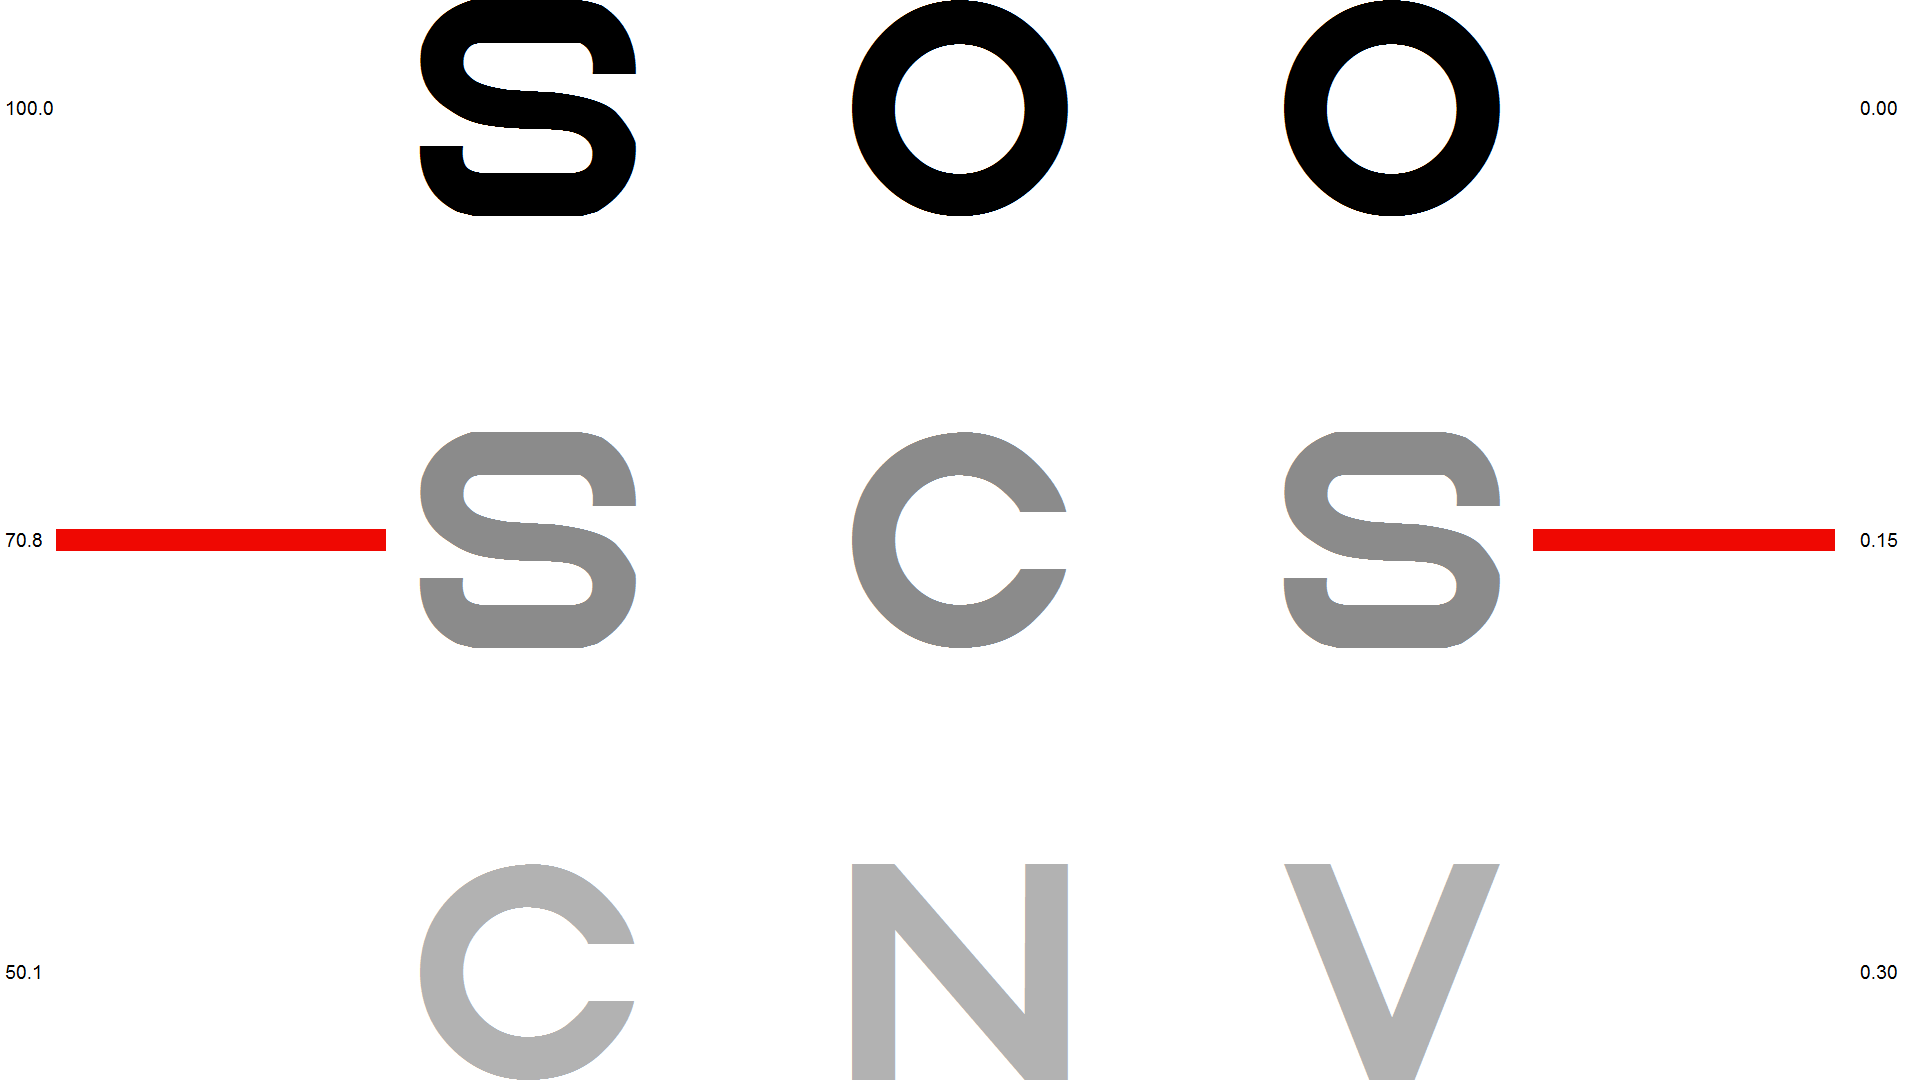
Letters are displayed in triplets of decreasing contrast from the top to the bottom of the screen. The patient is asked to read the letters from the top to the bottom (scrolling the screen if necessary) until they patient can no longer read two out of the three letters displayed. The contrast (or contrast sensitivity) of the last row read is recorded. The letters are scrolled using the Vertical Scrollbar in the Floating Control Window or by using the Vertical Cursor Control keys on the keyboard or remote.

The test can be performed using any of the optotypes. The required Optotype is selected from the pull-down list in the Secondary Toolbar.
There are five predefined sets of letters (the first three letters defined for the LogMAR charts). To rotate around these 5 predefined sets, click on the O icon on the Secondary toolbar or press the O key on the keyboard or the remote.
To randomise the letters, click on the R icon on the Secondary toolbar or press the R key on the keyboard or the remote.
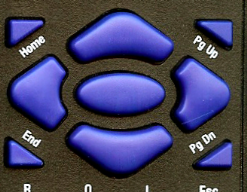
Contrast sensitivity is usually measured with large letters to provide an assessment at the low spatial frequency end of the contrast sensitivity function. Test Chart 2016 provides the facility for changing the size of the letters to enable the contrast sensitivity function to be sampled at different spatial frequencies. To change the size of the letters, press PgUp or PgDn on the keyboard or remote.
Contrast in this context is defined as:
C= Lback - Lchar
Lback
Where Lchar is the luminance of the character and Lback is the luminance of the background. By this definition, contrast varies between 1 and 0 or 100% and 0%.
Contrast sensitivity is the reciprocal of the contrast threshold. Therefore, if the minimum contrast perceived by the patient was 0.01 (1%), the contrast sensitivity would be 100 and log10 contrast sensitivity would be 2.0.
Labels showing Log contrast sensitivity, contrast sensitivity or percentage contrast may be displayed in the left and right margins of the Contrast sensitivity chart.
The format of the labels can be specified via the Contrast tab of the Program Options screen. The size of the labels may also be changed by changing the Font size setting on the same screen.
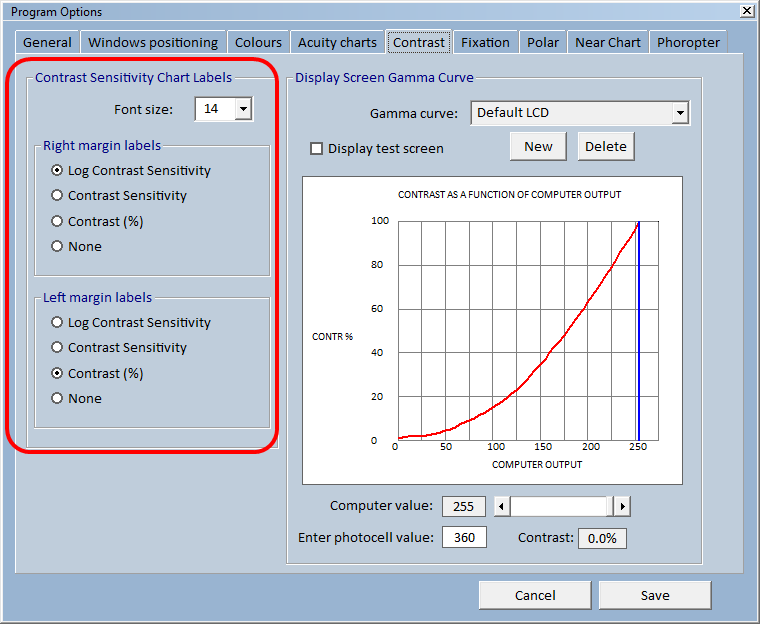
NOTE 1: The contrast values are calculated from the contrast calibration graph (Gamma function) and will only be accurate if the contrast of the display has been calibrated carefully.
NOTE 2: At low contrasts the characters may appear to have a slight hue. This is a result of the bit-stealing method used to achieve more
Summary
|
Mouse Select the corresponding button in the Secondary toolbar for default (O) or randomised letters (R) To select an optotype, click on the corresponding button Use the Vertical Scrollbar on the Floating Control Window scroll the chart and display letters of different contrasts |
Keyboard O Sets chart to default arrangement of optotypes. R Randomise optotypes Use horizontal cursor control keys to rotate around different optotypes Use vertical cursor control keys to display letters of different contrasts Use PgUp and PgDn to change size of the optotype |
|
|
Remote O Sets chart to default arrangement of optotypes. R Randomise optotypes Use horizontal arrows to rotate around different optotypes Use vertical arrows to change the contrast of the optotypes Use PgUp and PgDn to change size of the optotype |
contrast steps. It should not adversely affect results.