Compare results
The Eye Tracking Comparison function is designed to facilitate the comparison of two recordings. For example, it might be useful to compare the eye movements with and without some form of intervention .
To compare two recordings for the SAME PATIENT, select the patient's name in the Current patient list and select the List tab in the Results list.
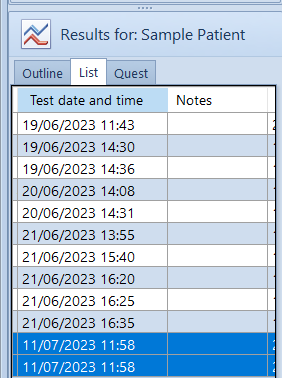
Holding down the Ctrl key on the keyboard, select the TWO records that you wish to compare.
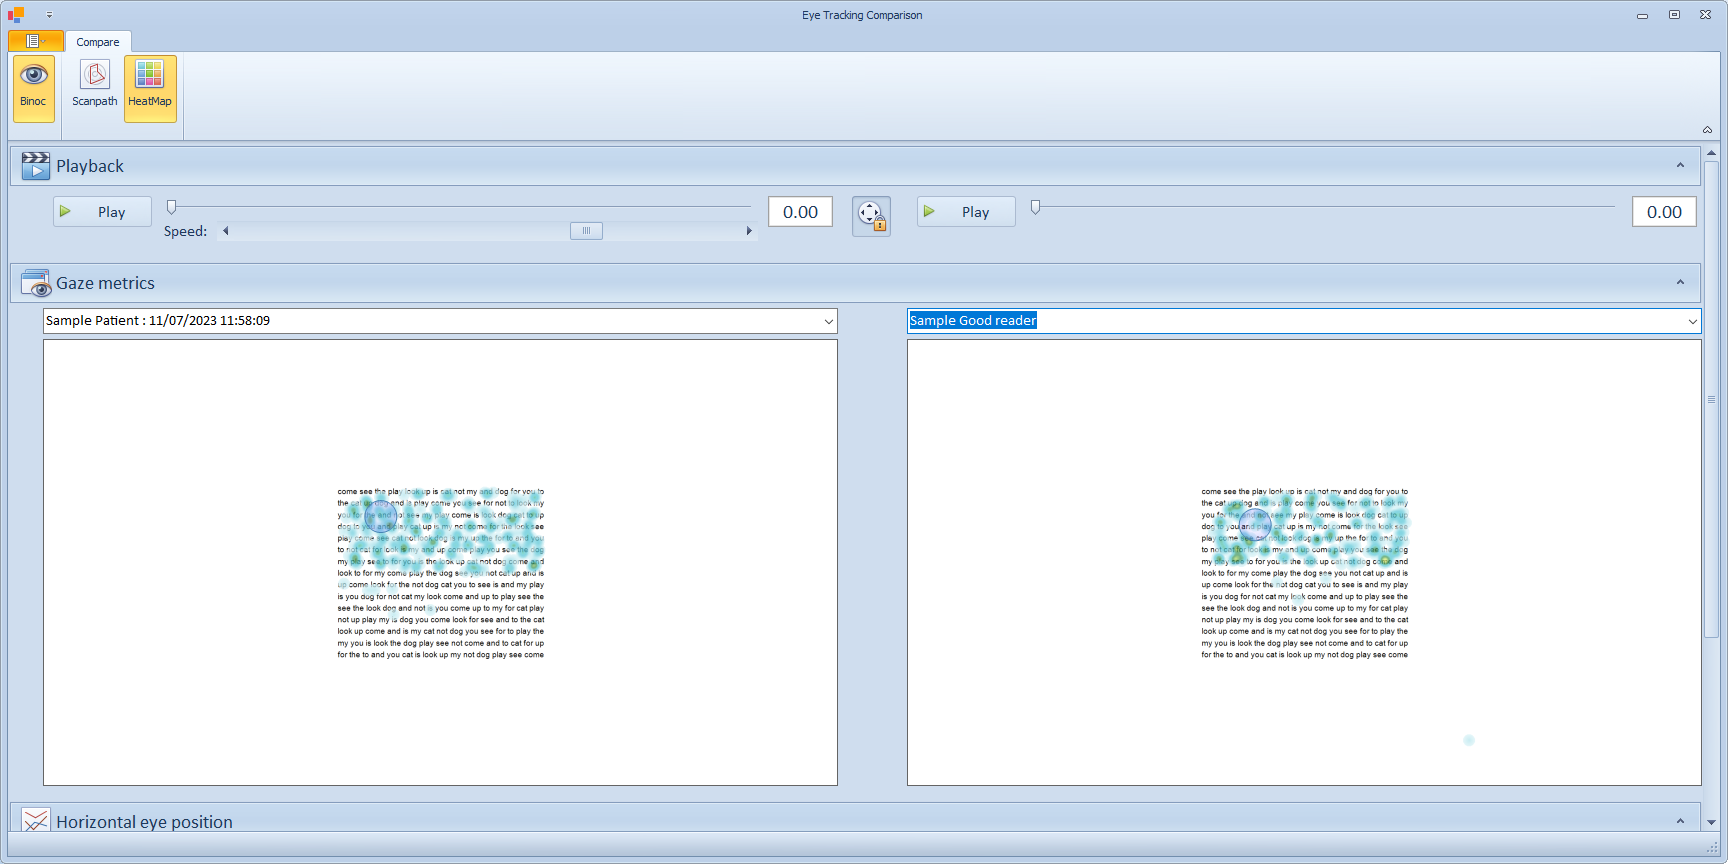
The Eye Tracking Comparison screen is then shown by selecting the Compare button on the main toolbar. This will display the screen shown below.
The two recordings will be shown side-by-side. The buttons on the toolbar can be used to select Binoc/Monoc and to display a scan-path or heatmap on the XY display.
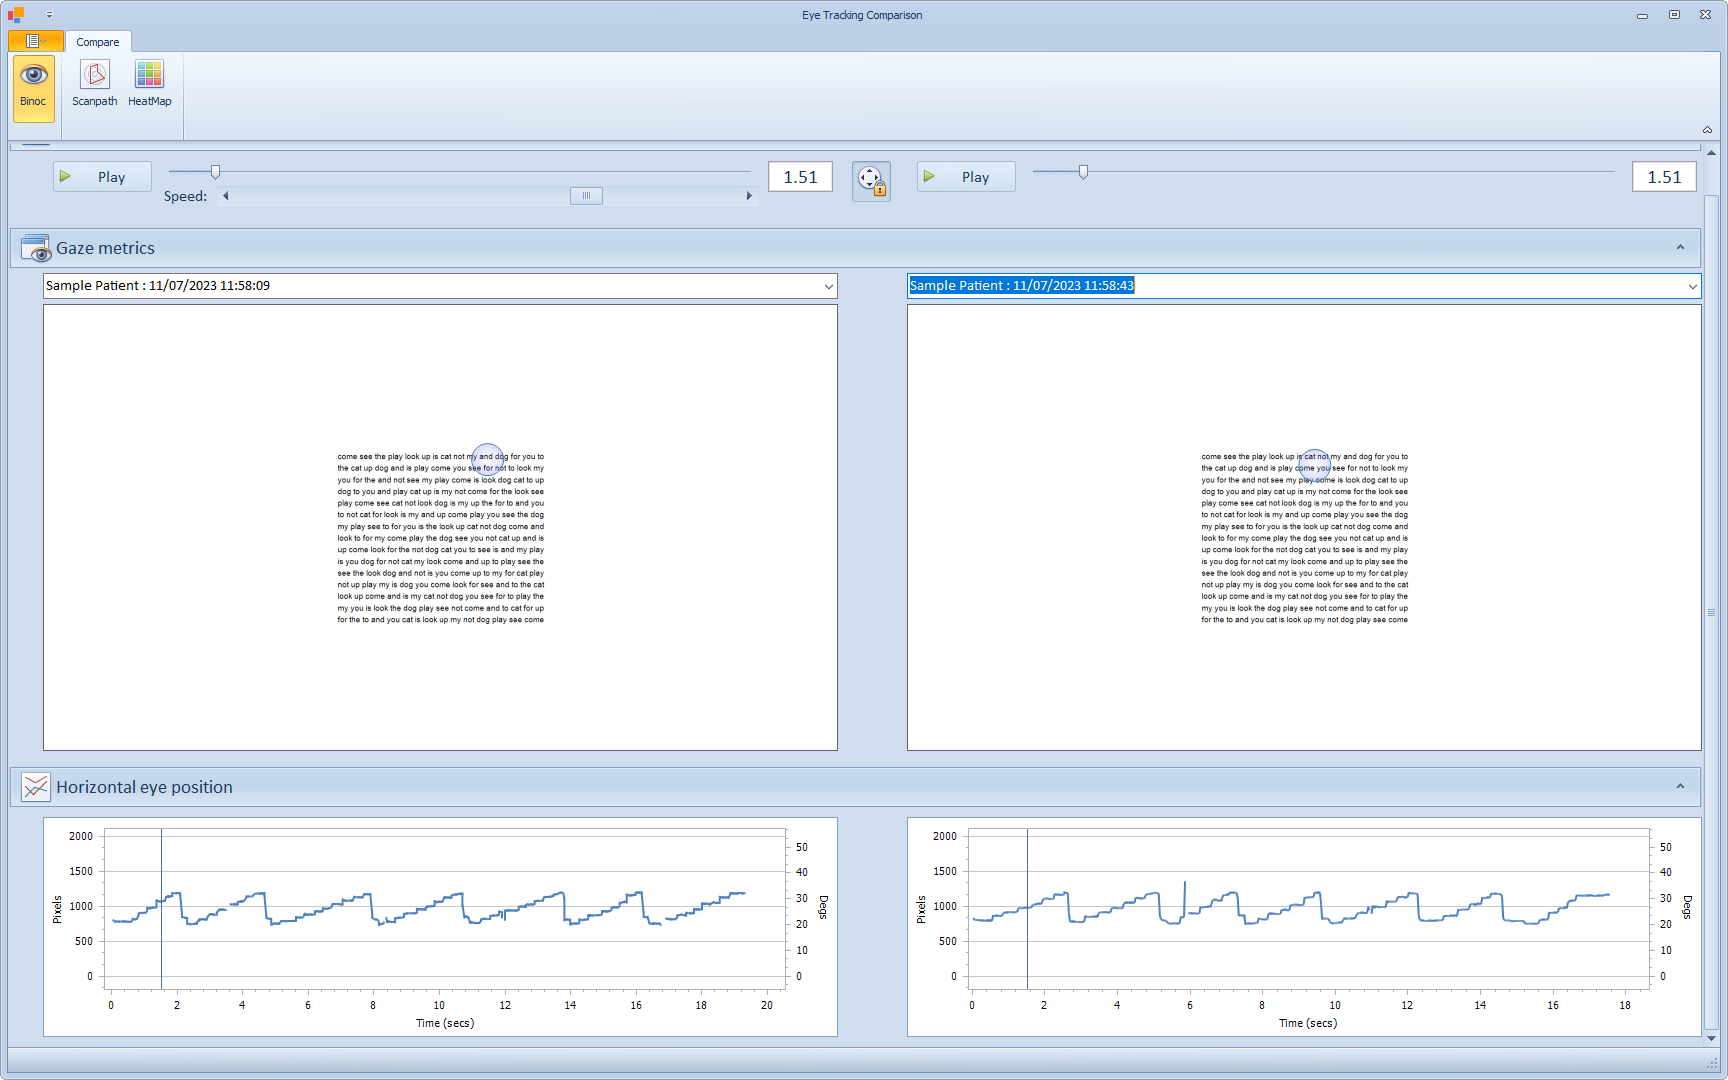
To replay the recordings, select Play or use the scroll bar next to the Play button. By default, the two recordings will be synchronised so that the two playback screens will be displaying the same time from the beginning of the recording. This allows the relative speed of reading (for example) to be compared. The speed of the playback can be varied using the Speed scroll bar.
To unlock the two recordings so that they can be replayed individually, select the Padlock icon between the two playback panels.
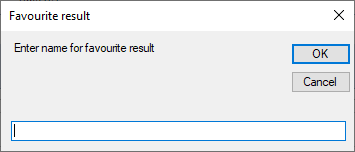
To compare two recordings for DIFFERENT PATIENTS, select the first patient's name in the Current patient list and select the recording from the Results list. Select the Favourite button and give the recording a relevant name - e.g. "Sample Good reader".
Select the second patient's name in the Current patient list and select the recording from the Results list.
Show the Eye Tracking Comparison screen by selecting the Compare button on the main toolbar. The pull down list above each XY display will show the most recently selected recording plus a list of the Favourites that have been saved. Selecting for example "Sample Good reader" from the list (as shown below), will allow comparison of the two recordings.